How to install RV Electronics senders.
How do I install sender units to my Water Tanks?
This is a guide of how to install the RV Electronics sender unit on thick 5–8mm wall water tanks. *If you have purchased your tank through Aqua Armour, we will add the 22mm hole for you upon request.
*If you already have a water tank where the sender hole is not provided you will need to drill a 22mm using a hole saw. Hole to be placed at high point on tank side wall, be careful to allow space for other fitting and accessories. You will need to thoroughly rinse the tank out a few times to remove all drilling swarf.

Guide:

Step 1: Unscrew sender retainer nut & washer.

Step 2: Wet rubber top hat washer with soapy water.

Step 3: Using chosen tool such as a flat head screwdriver, do not use anything sharp. Slip washer over sender washer flange.

Step 4: Flip washer around, when you put it back on it should be as per this photo with the wide part of the top hat facing the end of the sender.

Step 5: Wet rubber top hat washer with soapy water if necessary. Slip back over rubber washer retainer.

Step 6: Pull washer, retainer nut & washer back down the cord and place sender ONLY into 22mm hole. Hole will be added to tanks upon request with order. (oversized hole used in this example).

Step 7: Squeeze rubber washer and place inside tank, if steps correctly followed the flange end of the washer will go in first. This is imperative to sealing the sender hole.

Step 7.1 Additional Photo

Step 8: Pull the sender back so as that the rubber seats back on the sender. (oversized hole used in this example).

Step 9: Screw down firmly, but do not over tighten.

Step 10: Complete
Featured collection
-
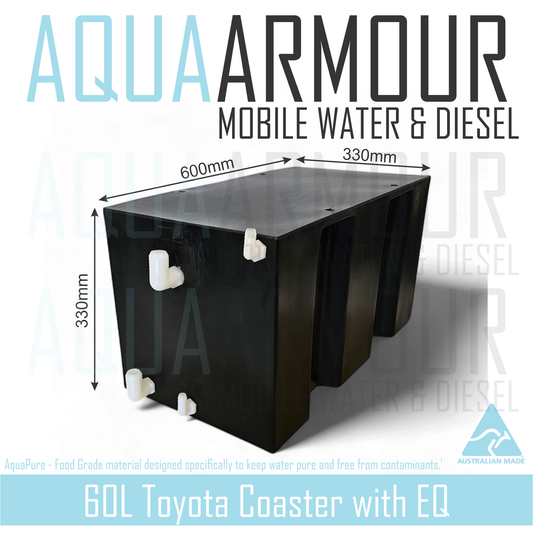
60L Toyota Coaster Tank - With Optional EQ (60x33x33).
Regular price $233.46 AUDRegular priceUnit price / per$233.46 AUDSale price $233.46 AUD -
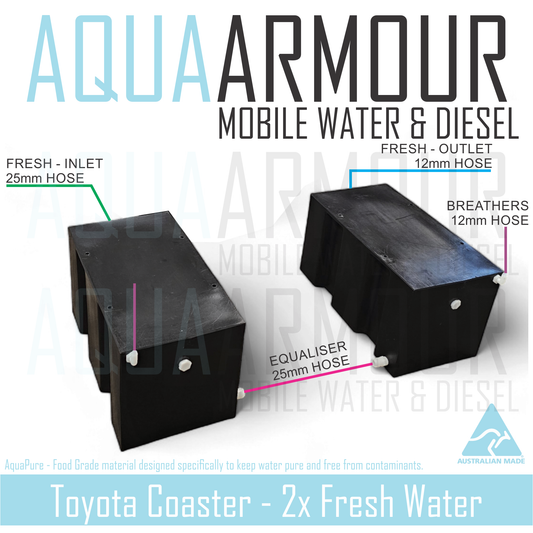
2x 60L Toyota Coaster Fresh Water Tanks (60x33x33).
Regular price $466.92 AUDRegular priceUnit price / per$466.92 AUDSale price $466.92 AUD -
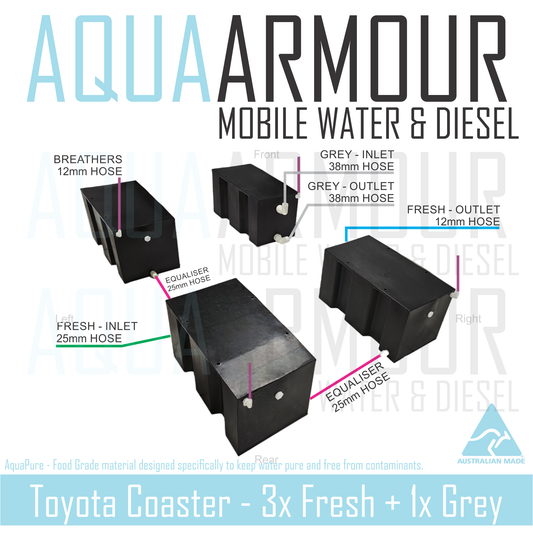
3x 60L Toyota Coaster Water Tank - 2x Fresh + 1x Grey Water (60x33x33).
Regular price From $700.38 AUDRegular priceUnit price / per$700.38 AUDSale price From $700.38 AUD -
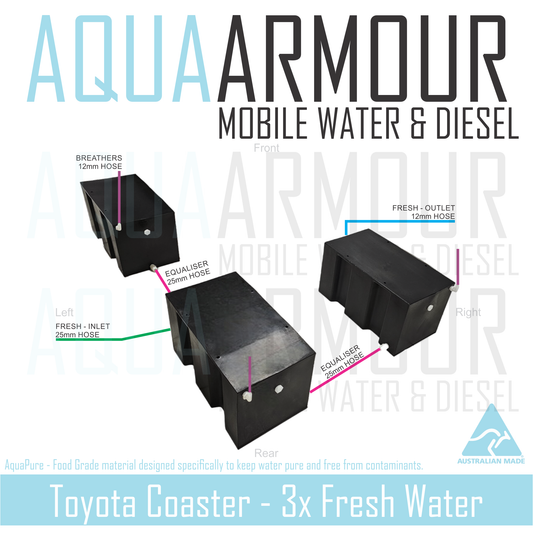
3x 60L Toyota Coaster Water Tank - All Fresh (60x33x33).
Regular price $700.38 AUDRegular priceUnit price / per$700.38 AUDSale price $700.38 AUD -
4x 60L Toyota Coaster Water Tank (60x33x33).
Regular price From $933.84 AUDRegular priceUnit price / per$933.84 AUDSale price From $933.84 AUD -
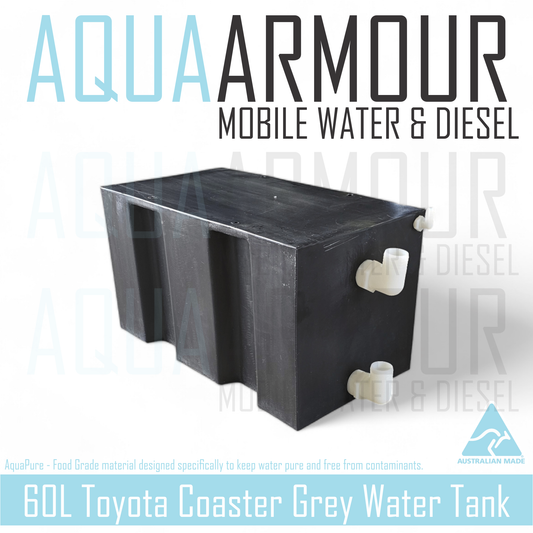
60L Toyota Coaster Grey Water Tank (60x33x33).
Regular price From $233.46 AUDRegular priceUnit price / per$233.46 AUDSale price From $233.46 AUD -
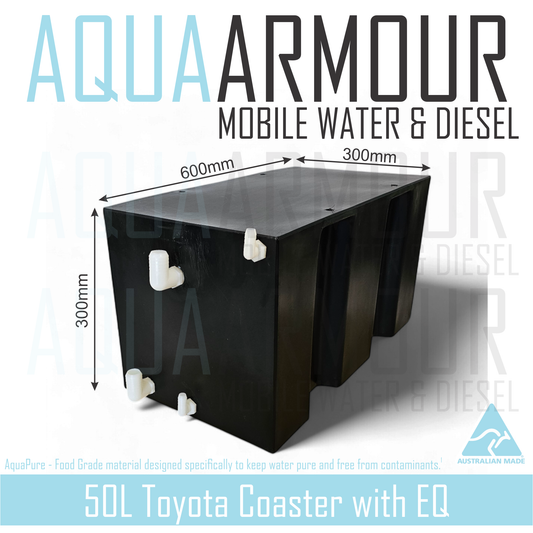
50L Toyota Coaster Tank - With Optional EQ (60x30x30)
Regular price $199.00 AUDRegular priceUnit price / per$204.28 AUDSale price $199.00 AUDSale -
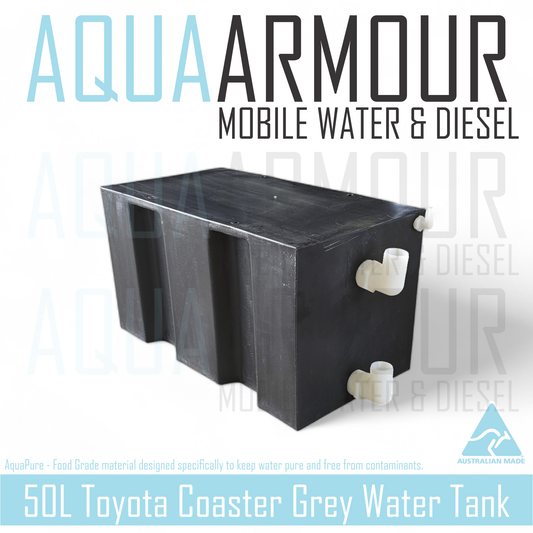
50L Toyota Coaster Grey Water Tank
Regular price From $199.00 AUDRegular priceUnit price / per$204.28 AUDSale price From $199.00 AUDSale -
4x 50L Toyota Coaster Water Tank (60x30x30).
Regular price From $780.00 AUDRegular priceUnit price / per$933.84 AUDSale price From $780.00 AUDSale -
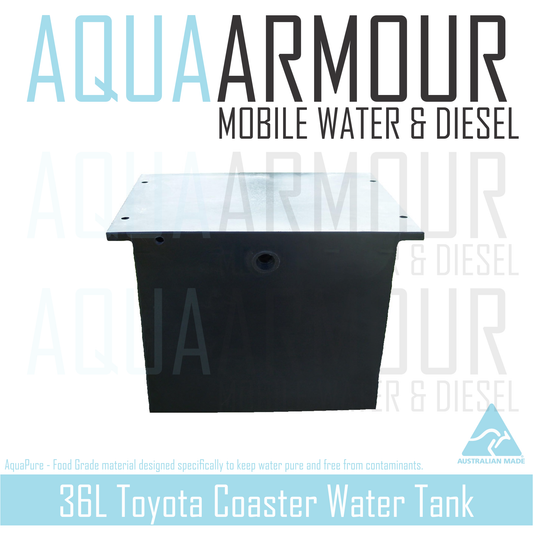
36L Toyota Coaster Grey Water Tank (35x35x32)
Regular price From $139.00 AUDRegular priceUnit price / per$145.92 AUDSale price From $139.00 AUDSale -
Coming Soon!
Regular price $0.00 AUDRegular priceUnit price / per -
Seaflow RV Supreme MKII 11.3LPM / 55PSI Pump
Regular price $129.00 AUDRegular priceUnit price / per$212.99 AUDSale price $129.00 AUDSale -
Topargee Bluetooth Water Level Gauge
Regular price $175.00 AUDRegular priceUnit price / per$175.00 AUDSale price $175.00 AUD

